

Available at shop.printed-droid.com
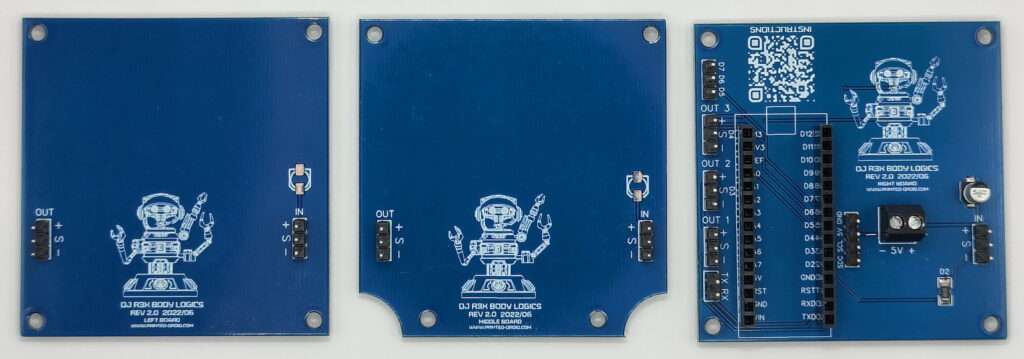
DJ R3X Logic Lights (RX Series) Logic Lights.
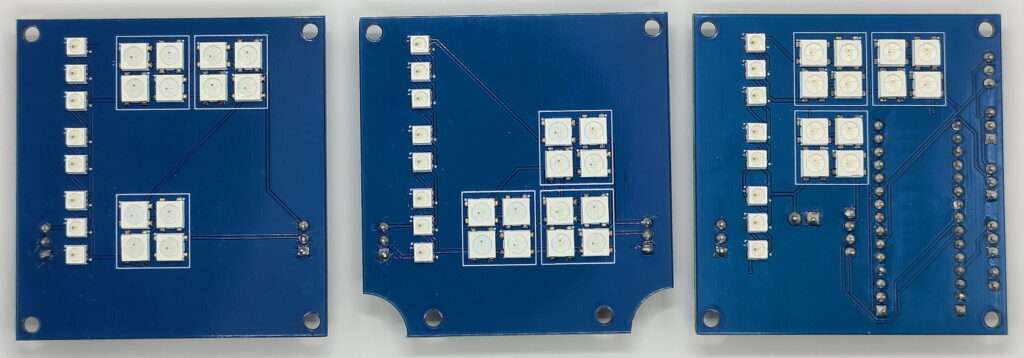
The Logic Lights set consists of 3 circuit boards and is controlled by an Arduino Nano.
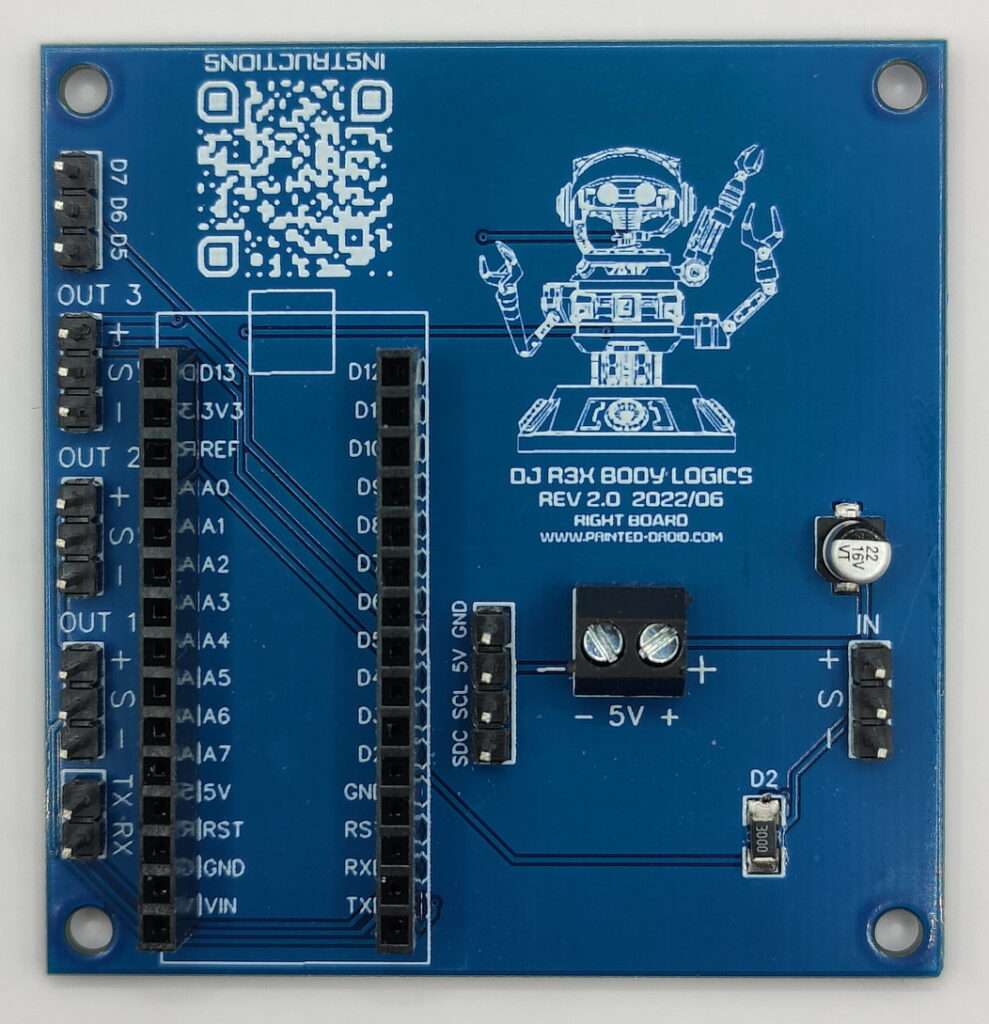
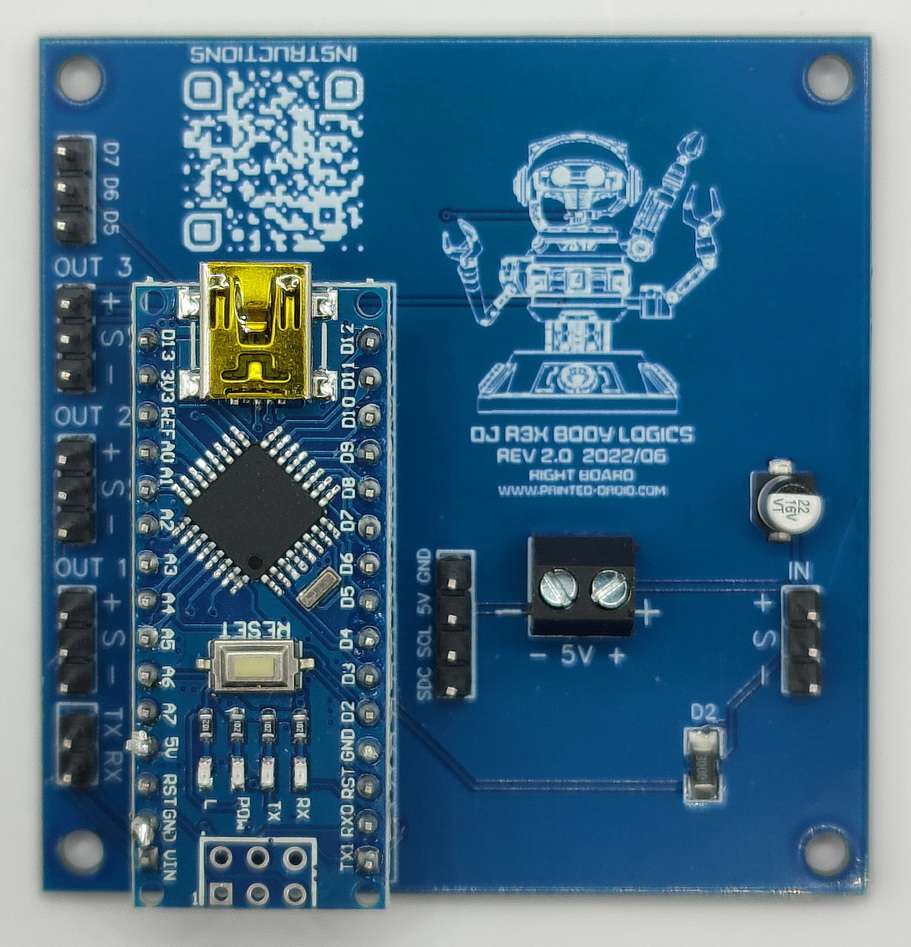
The Arduino Nano sits directly on the right logic board.
The board can be controlled serially or with I2C and has 3 more full output pins with 5V, signal and GND.
Furthermore, the pins D5-D7 are brought out.
Pinout (Right Board):
Out 1 – is the end of the LED chain, you cann add the other boards here via + Signal – to Middle board and then to left board
Out 2 – Arduino Pin D3
Out 3 – Arduino Pin D4
The Pin header D5/D6/D7 are free for use
RX – RX
TX – TX
SDA (wrong labeled with SDC) – A4
SCL – A5
IN is a Signal In (and 5v voltage) for the Leds if you don’t want to use the onboard Nano
The Leds are on Pin D2!
Starting with the 8 smaller Leds on the side, then 12 bigger Leds (same chain on the middle and left board).